Tools, Supplies, and Terminology
The things you need to net, and the things that make netting easier.
String
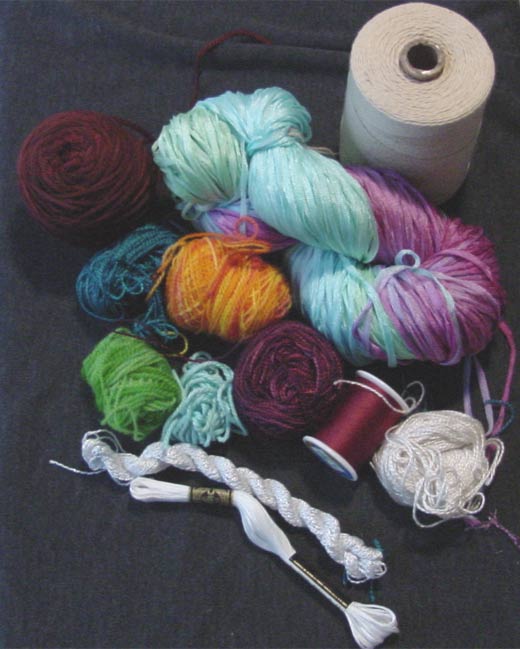
The first thing you need to acquire in your quest to net (and, in fact, the only thing that is absolutely necessary to net-making) is string, defined for our purposes as the linear, flexible stuff from which the netting is actually constructed. In practical terms, “string” can be rope, twine, yarn, thread, floss (embroidery or dental), wire, fabric strips, unspun wool roving, etc. In less practical terms, it can cover things like strips of newsprint, or knotted-together rubber bands. As a rule of thumb, if it is possible to knit it, it’s possible to net it.
Shuttles
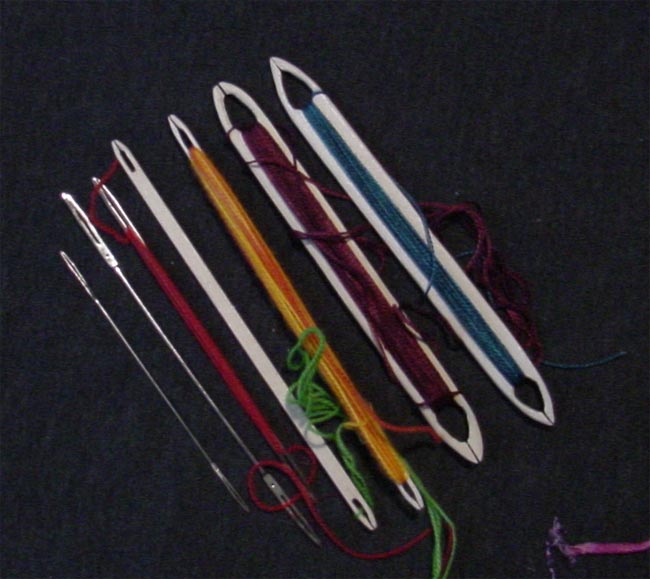
Of the tools that are not, strictly speaking, necessary, one of the most useful to have is a shuttle. The shuttle holds your excess string out of the way for you in a fashion that makes it easier to pass the string through small loops to make knots. Shuttles can be made of wood, metal, plastic, or any rigid, but not brittle material. Netting shuttles are sometimes referred to as netting “needles”.

Mesh Sticks
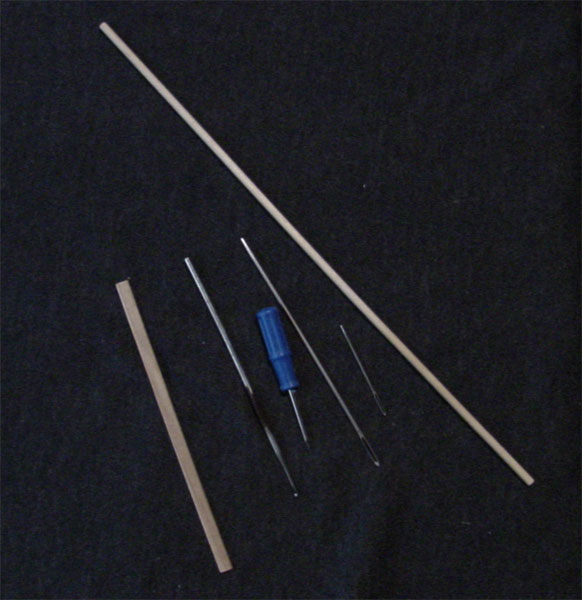
The other really useful tool to have is an assortment of mesh sticks. These are used to keep your loops evenly sized as you’re constructing the net. Nearly anything can be used as a mesh stick, so long as it’s a fairly consistent size. In addition to smooth plasitc mesh sticks, I’ve used knitting needles, hair sticks, popsicle sticks, pens, rulers, dowels, and craft paint bottles as mesh sticks. Frequently, when I don’t want to deal with taking extra equipment with me somewhere, I will use my finger as a mesh stick. It works quite well.
Other Stuff
There are an infinite number of other little things that, depending on how you net and under what circumstances, you might find useful. It can be nice to have some 3/16″ dowels around to net off of (more about that under starting to net), or various tapestry needles, crochet hooks, and awls, to help with making (or undoing) knots. I find a carabiner-type quick-link quite helpful when I am away from home for clipping the far end of my netting to a convenient chair (or my bag) for tension. Netting is quite a flexible and adaptable craft, so if you find a tool that makes things easier for you, go for it.
A Note on Direction
Netting is usually worked in only one direction, either left to right, or right to left, depending on what is most comfortable for you. When you get to the end of a row, you will flip the piece over, and continue on the other side. Netting generally does not produce fabric with a “right” and “wrong” side. The main instructions pages on this site will show left-to-right examples, since I am right-handed. I have some reversed illustrations here, and will be adding more as time allows. If you need anything else, please email me and I’d be happy to lend a hand.
Illustration Key
There are certain conventions that will be used in all of my illustrations for the instructions on this site:
