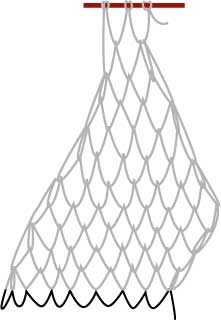
For Squares and Rectangles
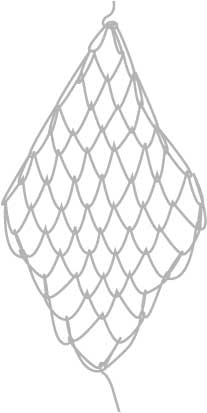
This is the kind of netting that you see in large-scale as tennis and volleyball nets, and in small scale as the base fabric for lacis embroidery. Square mesh netting imparts a more structured, formal look to projects that use it.
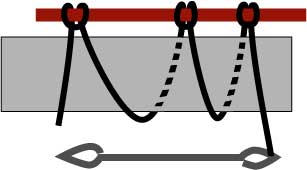
To begin your square mesh netting:
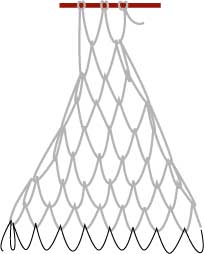
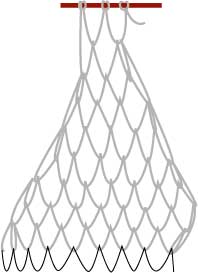
Row 1: Net 2 loops onto your foundation.
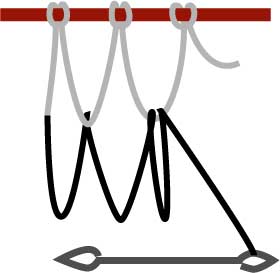
Rows 2+: Net one regular knot in the first loop. Increase with a double-stitch in the last loop. continue adding rows, increasing at the end of EVERY row, until the piece is as wide as you want it to be.
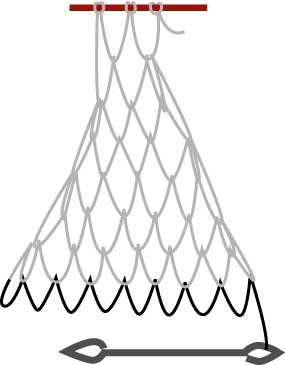
When the piece has reached the desired width, net one row across with no increases or decreases.
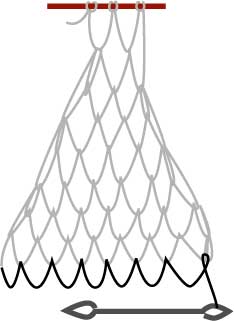
To finish your netting with a square shape
On the next row, net across the piece until the last 2 loops. Net these together in a decrease stitch.
On the following row, again, decrease at the end of the row.
Decrease at the end of each following row until you are down to just 2 loops.

Net the remaining 2 loops together with your working string. Keep the loops and working string close together, and do not make a loop over your mesh stick for this knot.
Knot your working string through the final loop a few more times to secure it.
Back at the top of the piece, remove the foundation from the top row and straighten the loops out.
Knot the top 2 loops together with the tail of the string on that end like you did on the bottom corner.
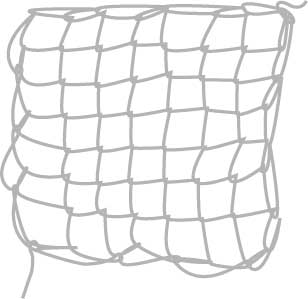
Stretch the piece out a bit, and you have a square piece of square-mesh netting.
To finish your netting with a rectangular shape:
Net one row across and INCREASE (double-stitch)at the end or the row.
On the next row, net one row across but DECREASE at the end of the row.
Continue netting rows, alternating increasing and decreasing at the end of each row. Be sure to keep all of your increases on one edge of the piece, and all of your decreases on the other edge.

When your piece has reached the desired length, net one row plain with no increases or decreases, and finish as the square net, decreasing on all further rows.